
The crew packed up, the dumpster is gone, and your Northern Virginia home has a new roof. Before you move on to the next thing on your list, take an hour to walk the property and confirm everything looks right.
Most reputable contractors build a final walkthrough into their process, but knowing what to look for yourself puts you in a stronger position to catch anything that needs attention early.
Check the Roof Surface From the Ground
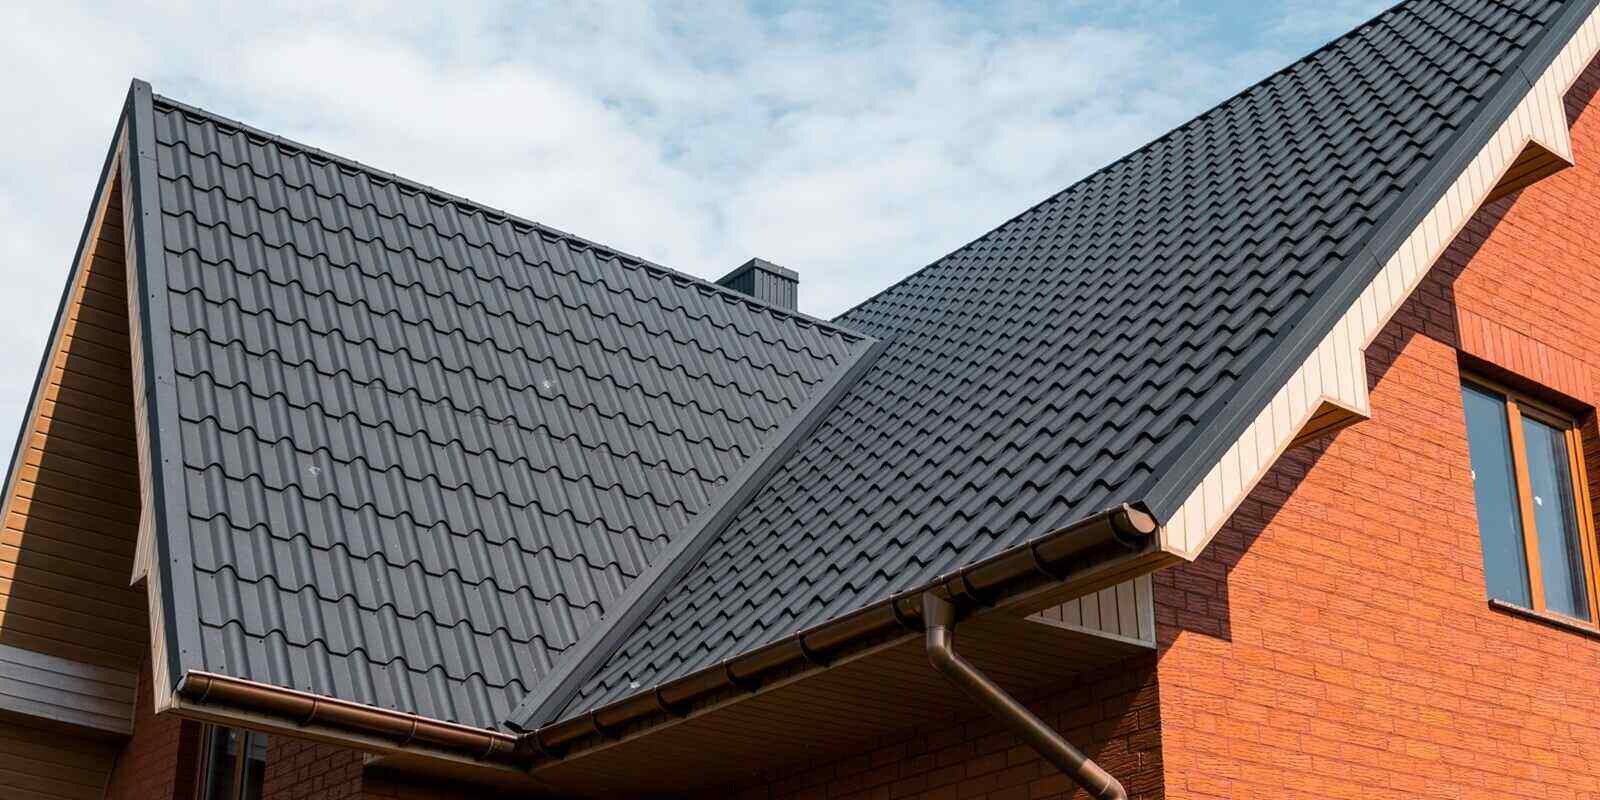
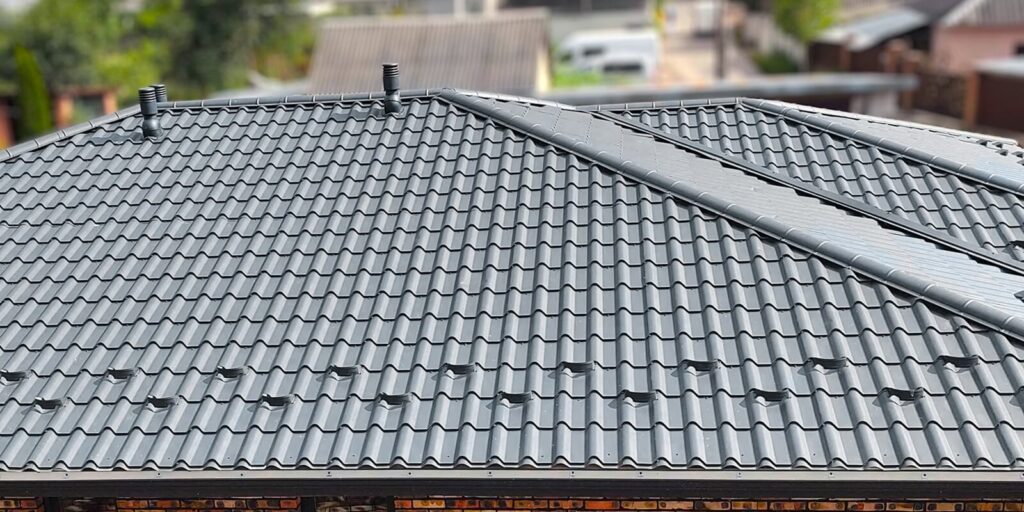
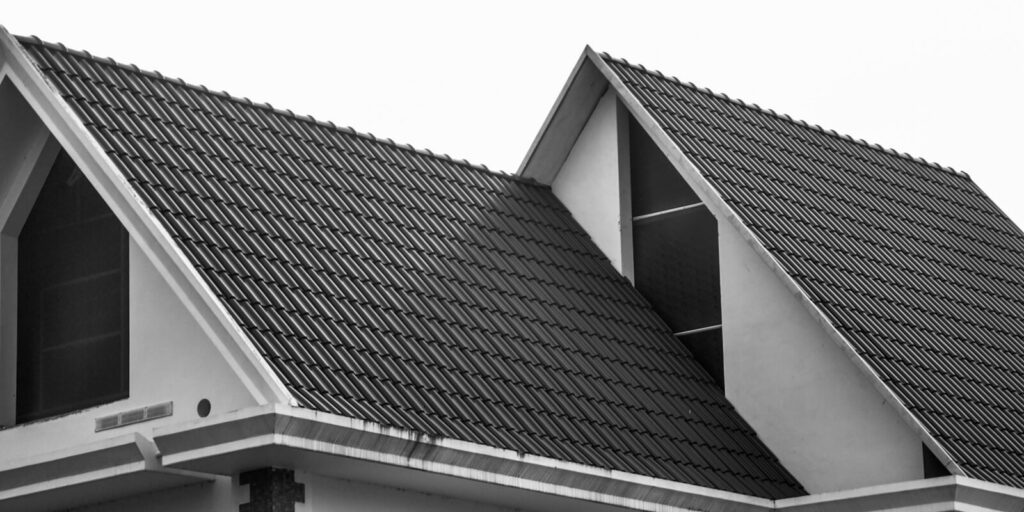
You don’t need to climb a ladder for this. Simply stand in the yard to get a look at your new roof from several angles and check the overall roof plane. Shingle courses should run in straight, even lines. Color should be consistent across the entire surface.
If your replacement involved multiple bundles of shingles, slight shade variation between bundles is normal and typically blends within a few weeks of sun exposure. However, large patches of mismatched color are worth flagging with your contractor.
Pay attention to the ridge line at the peak. Ridge cap shingles should sit flat and follow a uniform line from one end to the other. Humps, gaps, or uneven spacing along the ridge suggest the cap wasn’t seated properly.
Inspect Flashing and Transition Points
Flashing is the metal material installed wherever the roof meets a vertical surface like a chimney, wall, or dormer. It’s one of the most failure-prone areas on any roof and one of the easiest to check visually.
Step-flashing along sidewalls should sit tight against both the wall and the shingle course. Counter-flashing at the chimney should be tucked into the mortar joint and sealed, not just caulked against the face of the brick.
Also look at the drip edge along the eaves and rakes. This thin metal strip directs water away from the fascia and into the gutter. It should extend past the edge of the decking without curling or pulling away. Drip-edge flashing prevents roof leaks and wood decay of sheathing and fascia when installed correctly.
Around pipe boots and roof vents, check that the rubber or metal flanges sit flat against the shingles and that sealant hasn’t been applied as a substitute for proper flashing technique. Sealant fails over time. Properly installed flashing doesn’t rely on it.
Look at Gutters and Downspouts
During a roof replacement, gutters sometimes take a beating. After the work is done, check that the gutter runs are still firmly attached and that hangers haven’t been knocked loose. The gutter should slope slightly toward each downspout. Standing water in a gutter section usually means it was bumped out of alignment during the job.
Make sure downspouts are connected and direct water away from the foundation. If your home had gutter guards or screens before the replacement, confirm they were reinstalled. Some crews remove them during the tear-off and don’t put them back unless asked.
Walk the Cleanup
A thorough cleanup is part of a professional roofing job. Walk the full perimeter of your home and check for stray nails, shingle debris, and packaging material in the yard, flower beds, driveway, and walkways.
If you have a strong magnet, run it along the grass near the house. Roofing nails are small enough to hide in turf and sharp enough to puncture a tire or bare foot.
Check your siding, window screens, and air conditioning unit for scuffs or damage from falling debris. A good crew uses tarps and plywood to protect landscaping and exterior features during tear-off, but you’ll want to confirm nothing was missed. Neighborhoods with homeowner association requirements may have additional standards for jobsite cleanup and property restoration.
Collect and Organize Your Paperwork
Once the work is done, you should have a few documents in hand. The final invoice with a line-item breakdown, the manufacturer’s warranty information, and your contractor’s workmanship warranty are the three essentials.
If your contractor installed an Owens Corning or GAF system with an enhanced warranty, registration is typically handled by the contractor on your behalf. Owens Corning’s warranty registration process includes verification that old materials were removed, proper ice and water protection was applied, and new flashings and drip edges were installed to manufacturer specifications.
Keep a copy of the project contract, any change orders, and the building permit if your jurisdiction requires one. Many municipalities in NoVA require permits for full roof replacements. Virginia requires licensed contractors to provide a written contract for residential work, so you should already have one. Store everything together where you can find it if you ever need to file a warranty claim or provide documentation during a home sale.
What To Watch for in the First Few Weeks
A new roof may settle slightly as materials adjust to temperature swings and sun exposure. Minor granule shedding from new asphalt shingles is normal during the first few rain events.
The National Roofing Contractors Association recommends that homeowners inspect their roofs at least twice a year, in spring and fall, looking for cracked or curling shingles, deteriorated flashings, and excessive granules in gutters.
In the short term, check your attic space if it’s accessible. After the next heavy rain, look for any signs of moisture on the underside of the decking or around penetration points. Catching a small issue within the first month is far simpler than finding it a year later. Northern Virginia’s mix of summer heat and winter freeze-thaw cycles puts real stress on roofing materials during their first year, so seasonal checks are worth the effort.
If anything looks off, contact your contractor before attempting fixes yourself. Work performed by someone other than the original installer can void a manufacturer’s enhanced warranty.
Pure Roofing walks every homeowner through a final inspection before we consider a project complete. If you’re planning a roof replacement in Northern Virginia or have questions about a recently finished installation, contact Pure Roofing at (571) 445-8032 to schedule a conversation with our team.