
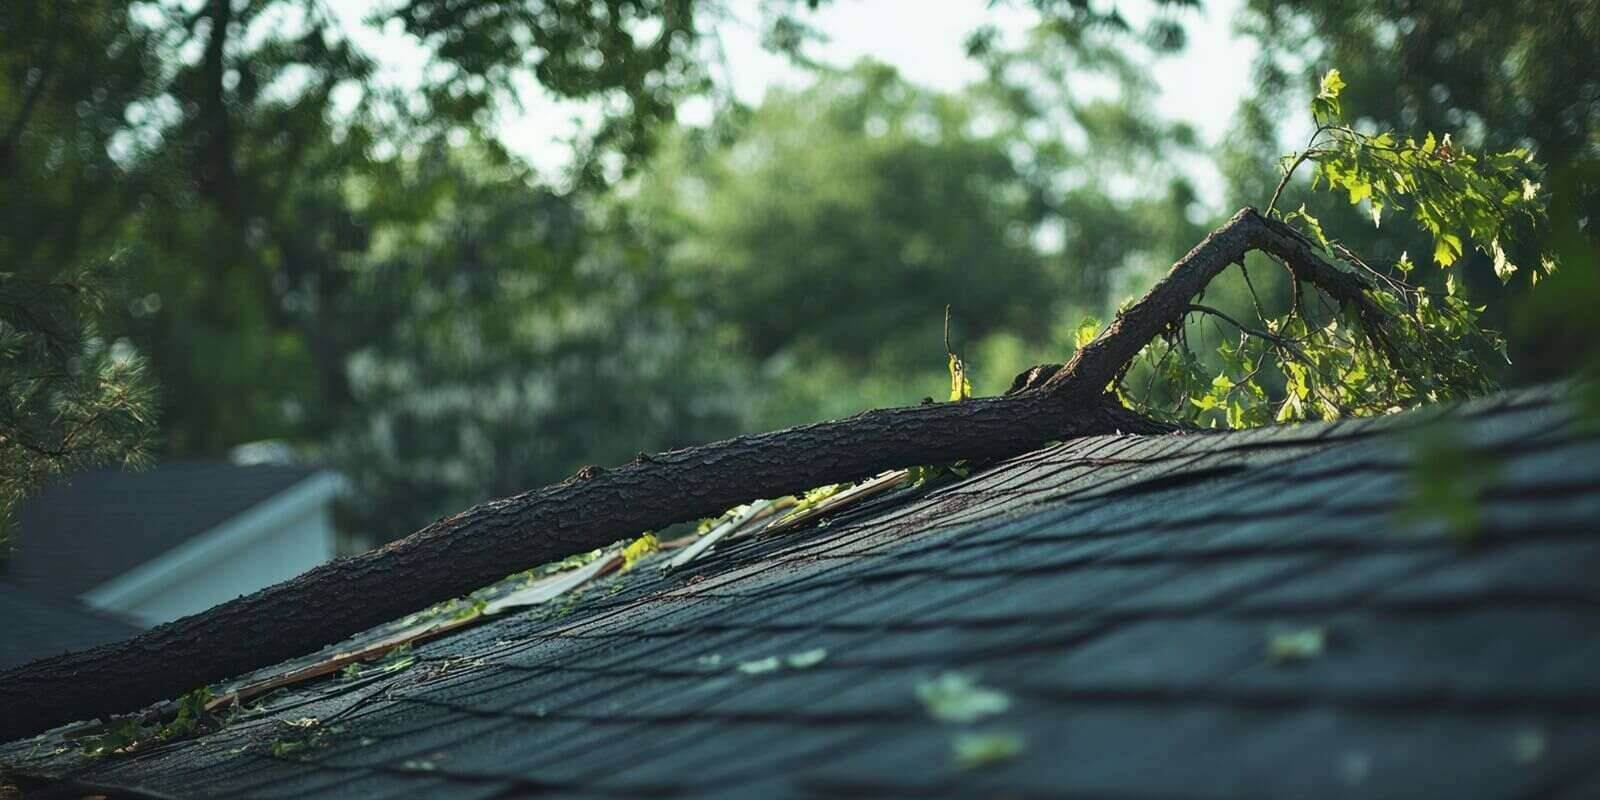

Storm damage can turn a quiet evening into a race against water. A breached roof leaves your home exposed to rain, wind, insulation saturation, ruined drywall, and electrical hazards, and those problems compound with every hour the opening stays unprotected.
What you do between discovering the damage and the contractor arriving on-site makes a real difference in how much the repair ultimately costs, what your insurance documentation looks like, and whether the situation stays manageable or escalates into something larger.
What this guide covers:
- Assessing the situation safely before taking action
- Controlling water intrusion from inside the home
- Covering the breach with a temporary tarp
- Documenting everything before cleanup begins
- Recognizing when the damage points toward replacement rather than repair
What Storm Damage Can Do to Your Home in 24 Hours
A roof breach creates an open path for water, allowing damage to occur in more than just the entry area. Rainwater travels beneath shingles, through decking, along rafters, and into wall cavities before most homeowners notice the first ceiling stain. According to the Insurance Institute for Business & Home Safety, roof-related damage accounts for 70% to 90% of insured residential catastrophic losses during major weather events.
A small breach can escalate significantly when a second round of rain passes through Northern Virginia before repairs begin.
- Drywall absorbs moisture quickly.
- Insulation loses effectiveness once saturated.
- Hardwood flooring warps after prolonged exposure.
- Electrical fixtures near active leaks become hazardous.
Older roofing systems are especially vulnerable. Storm damage sometimes exposes failing underlayment, weakened decking, or widespread material deterioration that had been developing quietly for years. In those situations, the conversation shifts from repair to replacement.
Step 1: Put Safety First Before Taking Any Action
Stay off the roof entirely. Wet shingles, hidden soft spots, and structural instability create dangerous conditions after severe weather. Ground-level inspections with binoculars are far safer and will give you a reasonable view of the visible damage.
Avoid rooms with sagging ceilings or active leaks until a professional can evaluate the structure. Waterlogged drywall can collapse without warning. Cracking sounds, bowing ceilings, and visible impacts from fallen limbs all indicate the area may not be stable.
Water near electrical outlets, breaker panels, ceiling fixtures, or appliances adds another layer of risk. Ready.gov advises homeowners to avoid touching electrical equipment when water is present. The Electrical Safety Foundation International notes that flooded electrical components can remain hazardous even after visible moisture disappears.
Focus on personal safety and interior damage control while waiting for your contractor.
Step 2: Limit Water Intrusion from Inside the Home
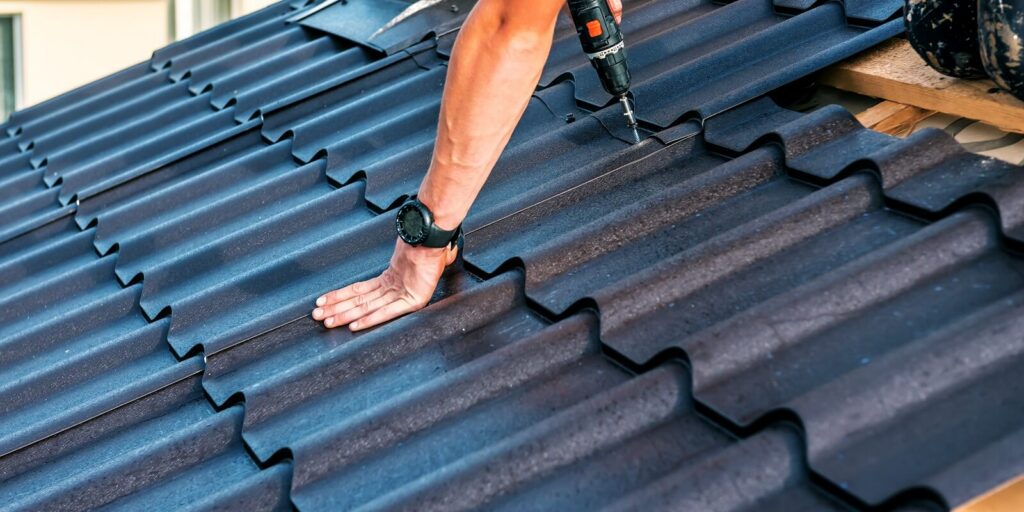
Move fast, but move smart. Place buckets or large containers directly under active drips. Lay heavy plastic sheeting across flooring in the affected area. Relocate electronics, rugs, documents, artwork, and anything else that can be moved away from the water’s path.
Water often spreads farther than expected, particularly when it moves behind walls or pools above ceiling surfaces. If a ceiling shows a visible bulge where water has collected, carefully puncture the lowest point to drain it into a bucket before it spreads across a wider area. Make sure you have stable footing and that the ceiling isn’t at risk of a larger collapse before attempting this.
Fans and ventilation help reduce lingering moisture after the active leak is controlled, but the priority is always stopping the water first. Insulation, framing, and flooring all absorb moisture quickly, and the longer they stay wet, the harder they are to salvage.
Step 3: Cover the Breach with a Temporary Tarp
A heavy-duty polyethylene tarp draped over the damaged section of the roof is the most effective short-term protection available. The tarp should extend well beyond the damaged area, and the edges need to be secured with boards, sandbags, or weighted materials so wind doesn’t lift it.
Work from the ground whenever possible. Some homeowners can secure a tarp from a ladder, porch roof, or an accessible lower section without stepping onto the damaged surface. Do not attempt to tarp the roof in high winds, lightning, steep conditions, or when structural damage is visible.
An improperly secured tarp can make things worse if Northern Virginia weather shifts before the contractor arrives. If you can’t secure it safely and completely, it’s better to focus on interior containment and wait for the crew.
Tarping is a temporary measure. It buys time. It does not replace a professional repair, and water may still find its way beneath the roofing materials if the underlying system has widespread damage.
Step 4: Document Every Area of Damage Before Cleanup Begins
Strong documentation is what separates a smooth insurance claim from a frustrating one. Photograph and video everything before you clean up, move furniture, or make any temporary repairs.
Start with wide shots of each affected room, then move in for detailed images of ceiling stains, soaked drywall, warped flooring, damaged insulation, and affected belongings. Exterior photos from the ground should capture missing shingles, fallen branches, gutter damage, flashing issues, and any visible punctures or impacts.
Video walkthroughs are especially useful for documenting active leaks and showing the overall condition of the home immediately after the storm. Save all receipts for emergency supplies: tarps, buckets, fans, and any other protective materials.
A written contractor assessment adds another layer of clarity. A professional inspection with dated photos and documented findings gives you a specific, organized record that supports any conversation about repair scope, replacement planning, or next steps with your insurer.
When Emergency Damage Points Toward a Full Roof Replacement
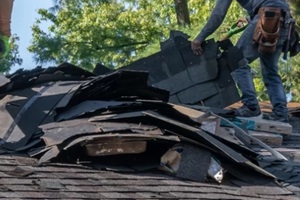
Some storm damage can be repaired with targeted work on a specific area. Other situations reveal problems that go well beyond what a patch or a section repair can address.
Widespread shingle loss, soft or water-damaged decking, failing underlayment, and extensive interior water intrusion often signal that the roofing system has deteriorated past the point where another repair adds meaningful life. Aging roofs that have already been repaired multiple times are especially likely to reach this threshold after a severe NOVA storm season.
The inspection findings drive that decision. Once the immediate situation is stabilized, a full professional assessment of the roof system, not just the visible damage, is the only way to know whether repair or replacement is the right path.
Contact Pure Roofing to schedule an inspection after storm damage. We’ll assess the full scope of the situation and give you an honest answer on how to proceed, whether that’s a targeted repair or a conversation about replacement.